Taking Control of Our Tooling
I can’t begin to count the times that I would walk into the shop and watch a setup operator walk from one person to the next looking for a tool. With each person the operator stopped at, I would find myself getting more frustrated. Typically, the tool would be found. Usually tucked in someone’s drawer. Sometimes the tool wouldn’t be found or someone would tell the operator it wasn’t in service anymore. There was also usually a few times a week where several people discussed what tool they used for a job in the past. It was a weekly occurrence that someone would come to me midway through a setup when they realized we didn’t have a cutting tool or an insert we needed for the job. At that point, I would be forced with the dilemma that most shop owners are too familiar with… Do I waste the money of paying for a UPS Red or waste the lost setup time and go to a different job.
All of this just spits in the face of lean manufacturing! Waste was running rampant at Ripley Machine and we knew we had to get control.
Our first steps were to implement a continuous improvement program. When our company initially decided to establish an ISO Certified Quality Management System in 2015, we identified that a major issue was our setup sheets, or lack thereof. Operators were very inconsistent with setup sheets. Sheets were typically done on the back of an uncontrolled print for the part. It was a mess! We established a process and a form for recording setup data. Despite this, we were still running into setup delays. This is when we decided to implement a continuous improvement program. We created a form that our team could fill out with text to be added to the paper work order (router) for a specific part. We tracked each improvement and counted them on a monthly basis. This certainly helped to capture information and organizational knowledge but we were ending up with simple parts having a work order that was several pages long. We were lucky if operators even found the page where their operation was, let alone read the notes that pertained to that operation.
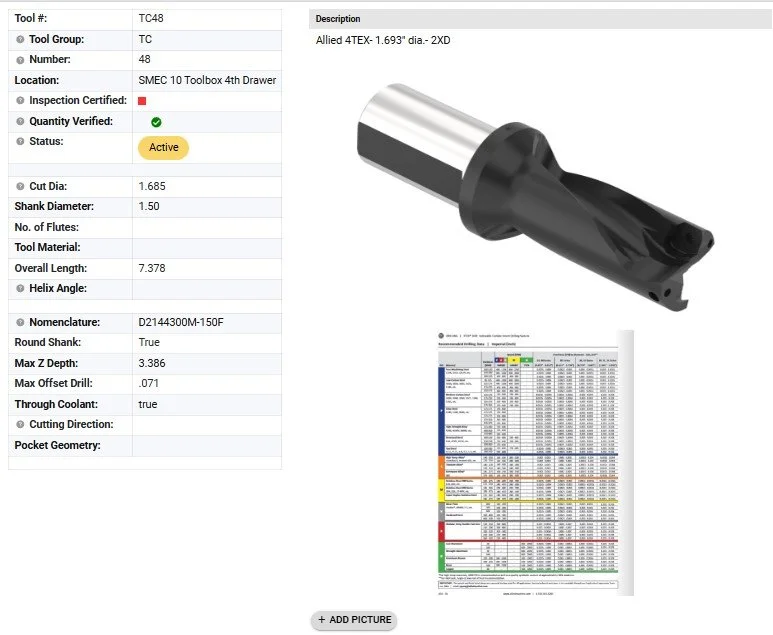
This tool page lists tool attributes, tool location, technical data. It’s not show but we also include order information, inventory and links to inserts, hardware, etc.
In 2020, we made the transformational decision to join ProShop ERP. We signed up in May of 2020 and the tooling module inside of ProShop was immediately put to use. Countless nights were spent adding data to tooling pages and linking tools . In the early days of implementation was that if there was a tool on the shop floor, I could give it a location and note that in ProShop. Our team wasn’t well-versed initially so they weren’t able to track tools down using ProShop but they knew to come to me for help finding the tool. I was amazed at ProShop. We slowly began to update tooling pages and trained our team to refer to them. We worked with our team to give us the information for a job so we could link tools. We added important information to each tool’s page such as the tools attributes and cutting data. We were very happy with our progress. However, some of the issues mentioned above were still rearing their ugly head way too frequently.
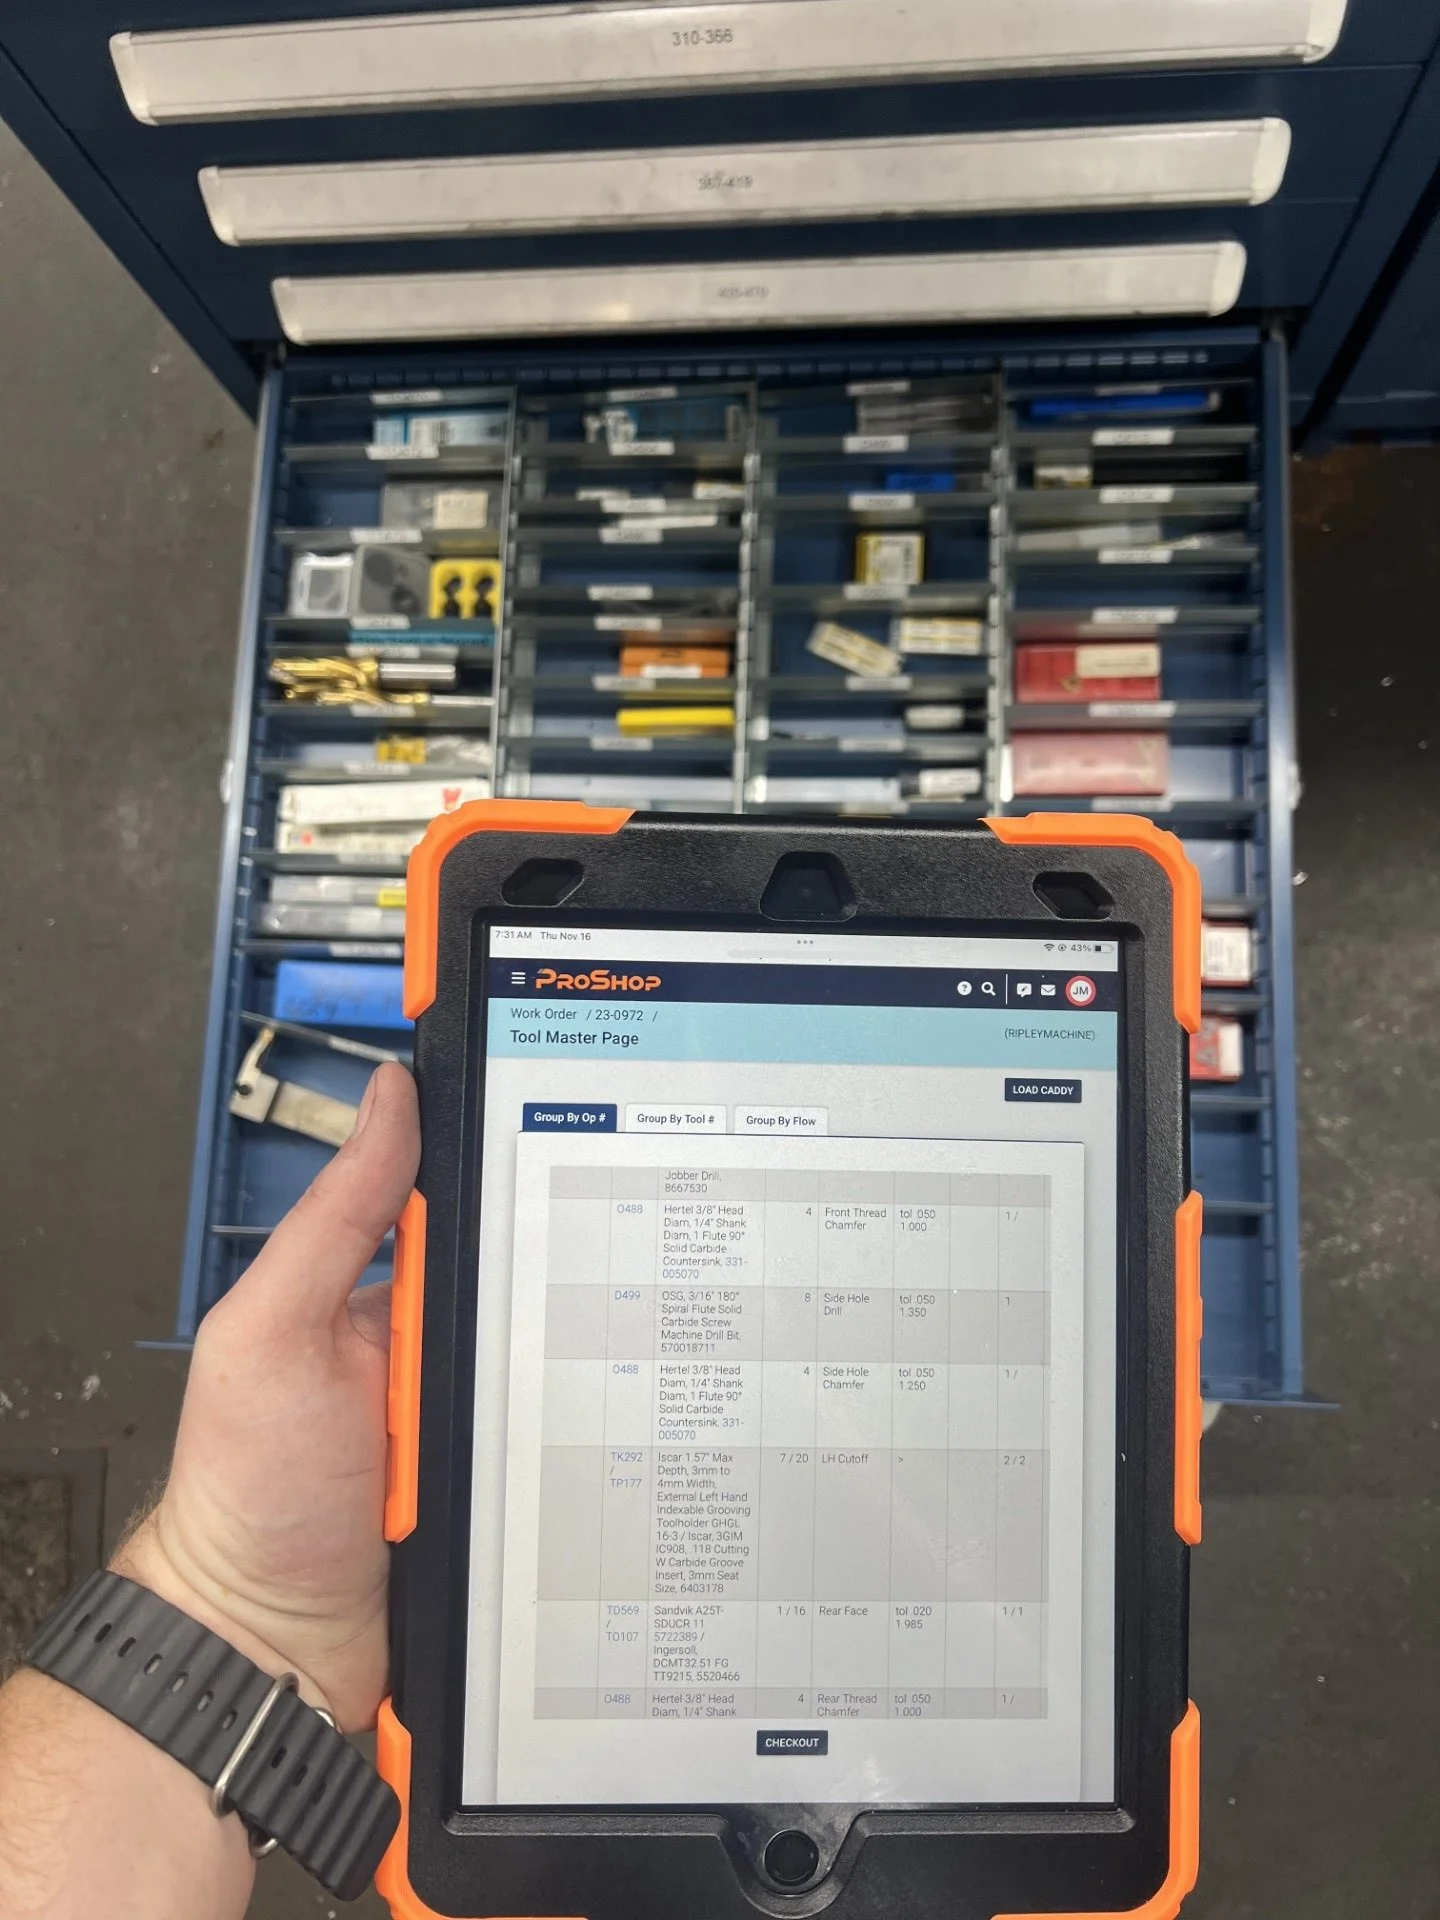
An operator gathers all tooling required for a job from the tool crib prior to starting a setup. This helps to reduce downtime and ensure quicker setups.
After a couple years of pushing back against the ProShop recommendation to add all tooling to a tool crib that is organized by tool number (and not by type of tool) we finally gave in. We invested in Lista cabinets (a huge shout out to Perry Mill Supply for their help in finding the perfect cabinets for our application). We collected every tool in the shop and placed it in the tooling cabinet. For tools that were too big for the cabinets, we put them in a well labeled bins on a shelf next to the cabinets. There were some rare occasions where we deemed that it didn’t make sense to add a tool to the newly formed tool crib. In cases where tools were not stored in the tool cabinet and/or the tool crib, we still established a slot in the drawer for the specific tool. In that slot we placed a card with information on where to find the tool.
While we worked on the tool crib, we simultaneously collaborated with our dedicated team to ensure that they were thoroughly familiar with how to effectively use ProShop and how to locate the necessary data they required within the program. To facilitate this process, we strategically placed tablets and computers on the shop floor to provide our team with immediate access to this crucial information right at their fingertips. Additionally, we guided our operators through what a setup routine should ideally look like. Our operators pull up the setup overview in ProShop, which then allows them to strategize and prepare for their setup. The setup operators then visit the tool crib to gather all the tools they would need for the specific job at hand. They have the option to take a tablet with them to the tool crib or utilize one that is conveniently available there. Once all necessary tooling is gathered, our primary goal was for them to remain at the machine until they were able to hand it over to the designated machine operator. In instances where they might need to leave the machine, we encourage them to reflect on strategies that could help mitigate any reason to leave the machine during future setups.
Inside of the sequence detail, our operators can add tool usage information which helps our setup operators have a decent idea of consumable tools required for a specific job. They can then pull all tools while doing the setup. This helps so operators don’t have to keep going back to the tool crib to get tools while running the job.
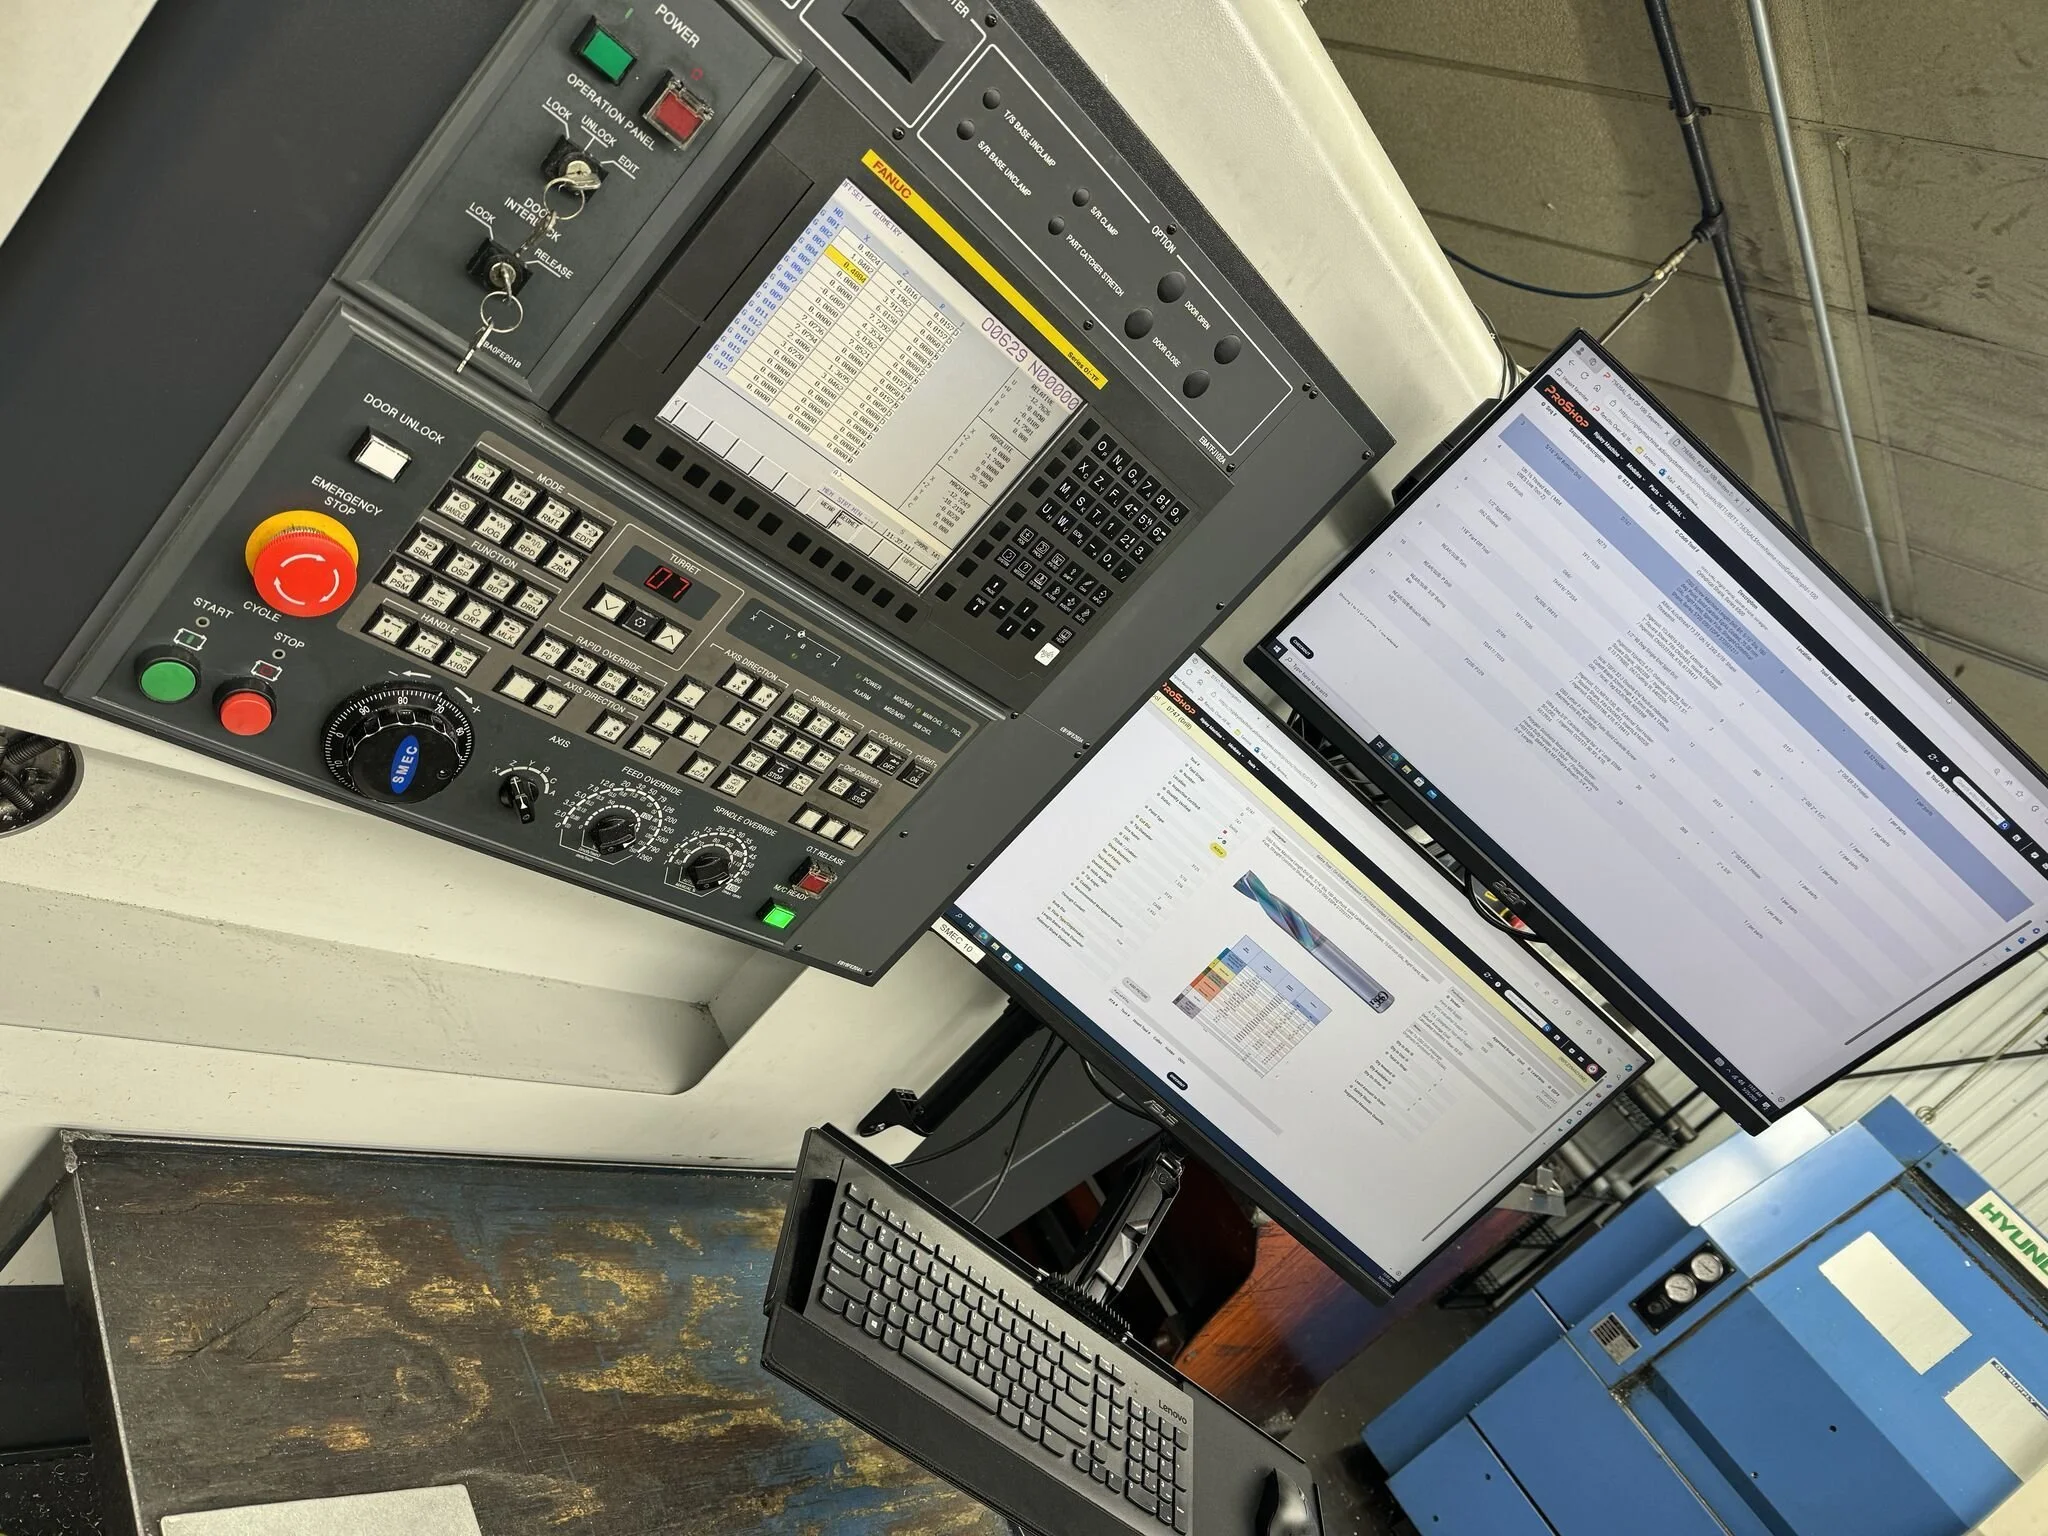
Computers on the shop floor allow our team to quickly information the information they need.
Having this data in our ERP allows for a much more efficient contract review and purchasing process. When we receive a new order, our management team is able to quickly review tools required for a job as well as current stock. With a click of a button, we can see all tools that are required for all operations of a specific work order. We can also see the quantity of each tool that we have in our inventory. This helps us to identify any purchasing needs while performing contract review instead of when we are setting the job up or in the middle of running. This has helped to avoid delays.
The tooling system has also helped our purchasing by helping us to identify what tools are being used where. In days past, an operator would bring a tool into the office and tell us that we needed to order said tooling. In addition to the wasted time for the operator, we often were running into cases where we were ordering redundant tooling or ordering tooling that we wouldn’t need. For instance, before a implementing the tooling system, an operator may use the last turning insert on a specific job. They would turn the insert box in and we would order the inserts. The inserts would then sit in a drawer for months or years before the specific part was ordered again. We would sometimes avoid ordering tooling that was needed at the time but trying to ensure that said tooling was ordered the next time that specific part was ordered. This always was a risky game and we would often just order the tooling to be safe. If nothing else, the tooling system gives us the opportunity to review all data when making a purchasing decision. We can quickly see what parts a tool is used on, purchase history, price, similar tooling options we have in house, etc. This is allows us to quickly make an informed decision.
The impact of implementing a tooling system from an efficiency standpoint are tough to quantify but are evident in our daily operations. However, we have been able to easily identify costs savings when reviewing our annual tooling spend. Over the last four years, our tooling spend as a percentage of sales has decreased each year. In a time when tooling companies are increasing prices on an annual basis, this reduction is amazing and is a testement to our tooling system.
In a time where costs are rapidly increasing, this investment has helped our team to operate more efficiently and helped to negate the impact of rising costs. This investement represents a dedication to a lean work envrioment and a dedication to serving our customers. We encourage you to browse the rest of our website to learn more about our company and how we can seve you and to request a quote on your next project!


